Introduction to Handcrafting Your Own Custom Cut Off Shirt
With the fashion world increasingly valuing self-expression and individuality, mastering the art of personalization has never been more relevant. This comprehensive guide will take you through the exciting journey of converting a regular t-shirt into your very own tailored Custom Cut Off Shirt, making it the highlight of any wardrobe ensemble.
Selecting the Prime Fabric for Your Custom Cut Off Shirt
Your choice of material is pivotal in determining both the comfort level and aesthetic appeal of your custom cut off shirt. While the classic cotton offers unrivaled softness and breathability, those seeking an avant-garde vibe may opt for denim or flannel fabrics.
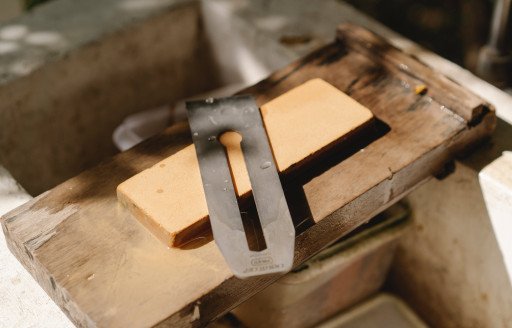
Tools You’ll Need for Crafting the Ideal DIY Cut Off Shirt
Gather these essential tools to prepare for the creation of your custom piece:
- Ultra-sharp fabric scissors
- Marking tool such as tailor’s chalk or fabric pen
- Precision measuring tape
- Sturdy cutting surface
- Reliable straightedge or ruler
Accurate Measurements: The Foundation of Your Custom Design
Measuring with precision is the cornerstone of achieving a perfectly fitted cut off shirt. Measure meticulously, mark thoughtfully, and cut carefully to embody your vision.
Learn more about t-shirt customization.
Conceptualizing Your Custom Cut Off Shirt Blueprint
Draft a visual outline of your design concept. This step serves as a vital guide, aiding in realizing your final creation, from a timeless sleeveless silhouette to an inventive asymmetric trim.
Meticulous Slicing: Ensuring Sharp Edgings
Executing precise cuts is crucial for a polished edge finish. Position your shirt smoothly on your cutting platform, devoid of creases, and slice along your mapped lines for impeccable results.
Armhole Artistry: Sculpting Your Signature Look
For the signature cut off armholes, begin by severing the sleeves along the seam for that classic, sleeveless elegance. For a bolder statement, adjust the cut to suit your preference.
Neckline Nuances: Tailoring Your Unique Edge
Hemming: For Lasting Quality and Panache
While hemming isn’t mandatory, opting for it can enhance the longevity and finesse of your cut off shirt. Alternatively, embrace a distressed demeanor by allowing the edges to fray organically post-wash.
Accessory Additions: Infuse Your Spirit Into the Garment
Adorn your shirt with patches, fabric paint, or embroidery to elevate its uniqueness. These decorative accents are the essence of your creative flair.
Care Tips for Preserving Your DIY Masterpiece
Investment in care is pivotal for sustaining your custom shirt’s condition. Gentle laundering and natural drying are advised to safeguard the custom adjustments.
Exhibition of Your Custom Crafted Treasure
Wear your custom cut off shirt with pride and let your personalized style shine.
Advanced DIY Hints for Enthusiasts
For DIY aficionados seeking to perfect their technique, this guide includes bonus tips, such as rehearsing on preloved shirts before proceeding to fresher canvases.
Resolving DIY Cut Off Shirt Queries
The concluding section addresses prevalent uncertainties, providing further insights and assurance to bolster your DIY apparel crafting expertise.
Related Posts
- 7 Key Steps to Master DIY Band Shirt Creation: A Comprehensive Guide
- 10 Steps to Master DIY Reindeer Shirt Crafting: A Comprehensive Guide
- 7 Easy Steps to Master DIY T-Shirt Transformation into a Stylish Tank Top
- 7 Bleach T-Shirt Design Techniques for Stunning DIY Creations
- 5 Customized T-Shirt Transformation Techniques for a Stylish Wardrobe